In this article, you will understand step by step how to easily integrate with Salesforce Service Cloud
Integrating with the Scytale platform with Salesforce Service Cloud will automate the collection of support tickets, reducing the time, manual work, and effort required to populate the necessary evidence for controls. With this integration, all closed tickets will be automatically collected and tracked. By automatically collecting all closed tickets, the "Communication and Information" SOC 2 criteria will be supported. This automated extraction process is handled by Scytale, ensuring accuracy and completeness while streamlining the audit's sampling process.
Permissions for Salesforce Service Cloud Integration
-
read: cases– Access to support tickets (cases) in Salesforce Service Cloud. -
read: users– Access to user information associated with support tickets. -
Scytale collects evidence automatically with read-only permissions.
How to Connect Scytale and Salesforce Service Cloud
-
In Scytale, go to 'Integrations'.

-
Search for Salesforce Service Cloud and select 'Connect'.

-
Enter your Salesforce subdomain:
For example, if you sign in athttps://subdomain.lightning.force.com, your subdomain issubdomain.
-
Add a connection name – this will be used to differentiate between your connections – and then select 'Next'.
-
You will be redirected to Salesforce to approve the authorization with Scytale. Click ‘Connect’ to confirm.
• If you're not logged in to Salesforce, you'll be asked to log in before the connection is completed.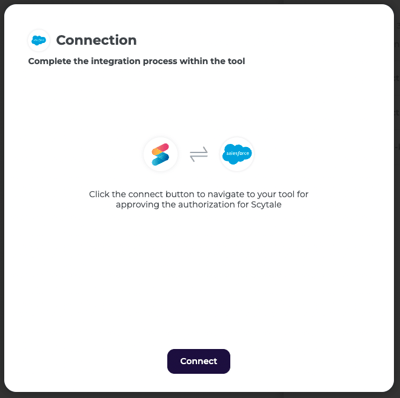
You have now successfully connected to Salesforce Service Cloud!