In this article, you will understand step by step how to easily integrate with Okta
Integrating with Okta will allow Scytale to collect all user access information and their access privileges on Okta. This will help to ensure that only authorized users have access to Okta, which is one of the key criteria when testing logical access. Manually collecting this type of evidence can take some time, especially when you need to prove to the auditors that the user listings are complete and accurate.
Automating the collection of user listings and access privileges will streamline the sampling process for the audit and also provide more assurance over the accuracy and completeness of the evidence collected.
Prerequisites for Okta Integration
Our integration actually uses API tokens, which function differently depending on the role of the user who generates them. To collect the list of user administrators from Okta, it is necessary for the user generating the API token to have a Super Administrator role.
Just note that to ensure compliance and security aspects of user access to systems, it's important to collect the list of administrator.
How to Connect Scytale and Okta
1) In Scytale, go to 'Integrations'.


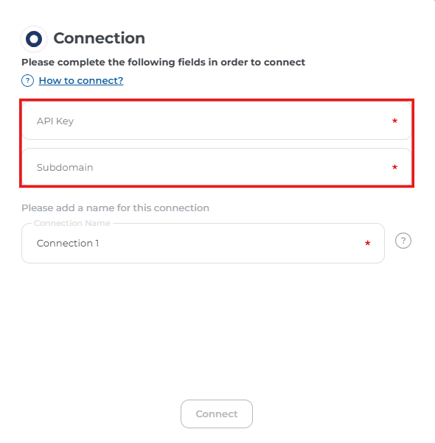
Add a connection name - this will be used to differentiate between your connections - and then select 'Connect'.
1) Log in to your company Okta application (It should look like this):
https://your-company.okta.com
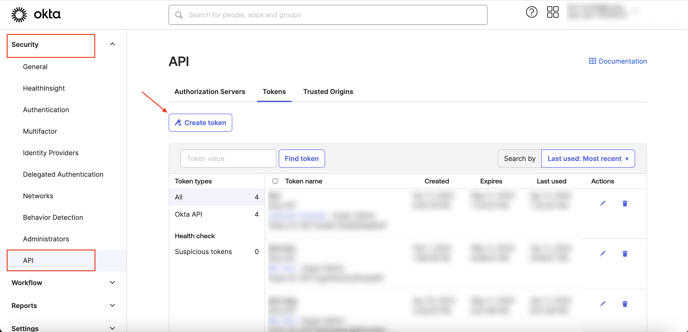
2) In the admin console, go to Security and click on API
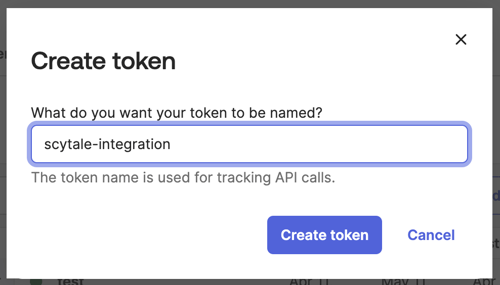
3) Go to the Tokens tab and click on the "Create Token" button and provide the name of your token.
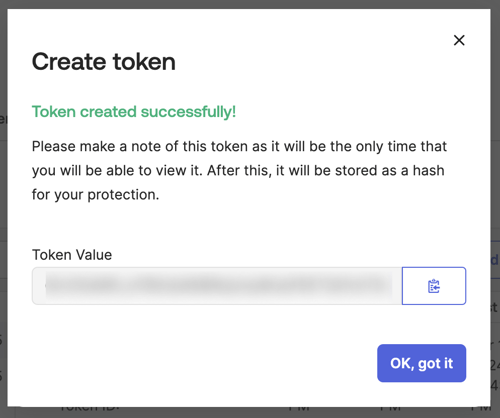
4) Copy the token value.