In this article, you will understand step by step how to easily integrate with Jira Service Management
The integration with Jira Service Management will allow the Scytale platform to collect support tickets and SLA indications for each ticket, ensuring that the company is responding to tickets in accordance with their SLAs.
This will also reduce the manual work, time, and effort required to populate the necessary evidence for the control - as it will automatically be collected.
Permissions for Jira Service Management Integration
The permissions will only give access to read and collect the support tickets in Jira Service Management in the relevant projects you have chosen i.e. the ability to fetch the support tickets and display them as evidence.
Scytale collects the evidence automatically with read-only permissions:
read:jira-work
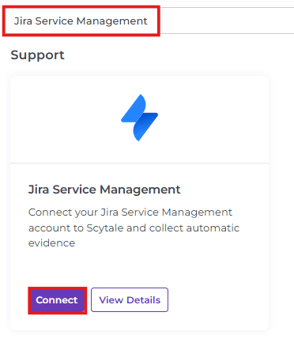
How To Connect Jira Service Management Integration
1) In Scytale, go to 'Integrations'.

-
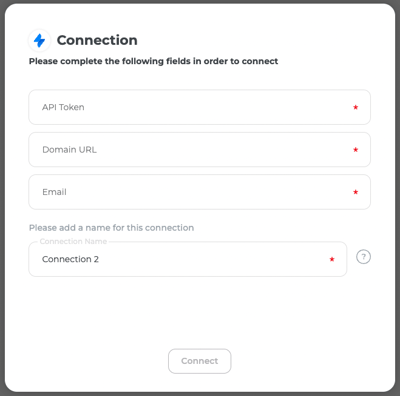
API Token - Paste the API token that was generated in Jira.
-
Domain URL - Paste your domain URL
- example: https://scytalemodel.atlassian.net
- Email - Enter the email address of the Jira user who generated the API token.
Project Selection
-
Select the Jira Service Management projects that are relevant to the audit. The support tickets will be collected automatically by the Scytale platform.
-
Note: if you don't select any projects, the connection will not be completed and we cannot collect any evidence.

3) Enter token name and select 'Create'.
-png.png?width=500&height=380&name=Untitled%20(23)-png.png)
4) Copy the token and save it in a notepad for safekeeping-png.png?width=500&height=325&name=Untitled%20(25)-png.png)