In this article, you will understand step by step how to easily integrate with Jamf Pro
By integrating with Jamf Pro, you gain the ability to efficiently implement and manage policy configurations across all operating systems while effectively tracking all devices within your organization. This integration automatically collects crucial evidence that plays a vital role in security management, safeguarding against potential security breaches. By ensuring effective management of endpoints, this integration provides greater assurance to the logical access criteria, granting auditors the confidence that endpoints are being effectively managed and secured.
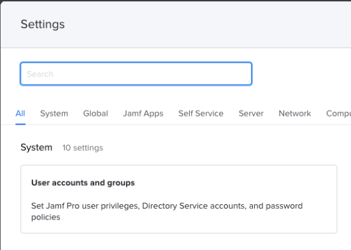
Permissions for Jamf Pro Integration
All the permissions that Scytale request for the integration with Jamf Pro are read-only permissions and do not allow us to perform any actions within your account.
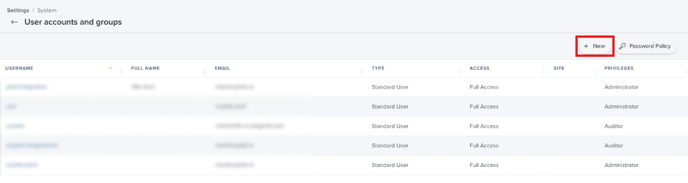
Auditor privilege
How to Connect Scytale and Jamf Pro
1) In Scytale, go to 'Integrations'.

2) Search for Jamf Pro in the search bar and select 'Connect'.

3) Enter your Subdomain for your Jamf Pro account.
Ex: If you sign in with "https://scytale.jamfcloud.com", your subdomain is "scytale".

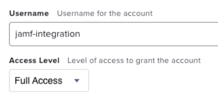
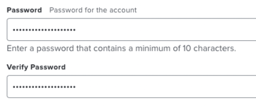
4) Add your username and password from Jamf Pro.
Learn how how to create a Username and Password in Jamf Pro below.

5) Add a connection name - this will be used to differentiate between your connections - and then select 'Connect'.