In this article, you will understand step by step how to easily integrate with Github
Permissions for Github Integration
The connection should be established by the owner of the organization. Only read access is required for all the listed scopes:
- Administration
- Checks
- Issues
- Members
- Metadata
- Organization administration
- Pull requests
Prerequisites for Github Integration
- Organization Owner in Github - Sign in to your Github account as the owner of the organization you wish to connect with.
- To confirm that you are the Organization Owner, visit the following page: https://github.com/settings/organizations.
Make sure you see at least one organization listed on the page.
- To confirm that you are the Organization Owner, visit the following page: https://github.com/settings/organizations.
-
If you've previously connected Scytale to GitHub organization, you may need to remove the Scytale app before connecting.
How to Connect Scytale and Github
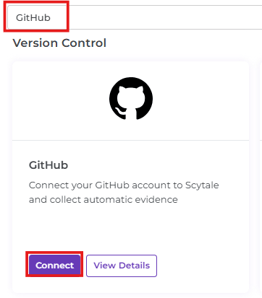
1) In Scytale, go to 'Integrations'.

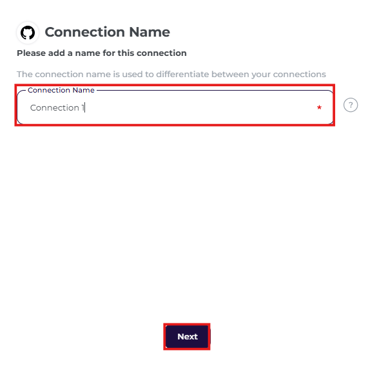

5) You will now be redirected to Github in a new tab to sign in.

6) You will see a list of your organizations. Select the GitHub organization you wish to have connected with Scytale.
-png.png?width=400&height=288&name=Untitled%20(10)-png.png)
Note: You can only connect one organization at a time. If you’d like to connect to multiple organizations, simply repeat steps 1–8 for each one.
There is no limit to the number of organizations you can connect.
Note: If you see "Configure" next to the organization's name, the Scytale GitHub App is already installed. Please uninstall it before connecting.
7) On the next page, you will see the list of permissions being requested.-png.png?width=312&height=443&name=Untitled%20(11)-png.png)
All repositories: Choose this if you want Scytale to monitor all repositories within the selected organization, including any created in the future.
Only select repositories: Choose this if you want Scytale to monitor specific repositories only. Unselected private repositories will not be monitored (public ones remain visible even if not selected).
New repositories created in the future will not be monitored automatically. To include or remove them later, follow these steps.
8) Select 'Install & Authorize'.
You have now successfully connected to Github!
1) Go to the GitHub home page and click on your profile image.
2) Select 'Your organizations'.
3) Find your organization and select 'Settings'.
4) Go to 'GitHub Apps' in the 'Third-party Access' section..png?width=409&height=188&name=Untitled%20(1).png)
5) Select 'Configure' for the 'Scytale.ai' connection..png?width=688&height=583&name=Untitled%20(2).png)
6) In the 'Repository access' tab select new repositories from the list / remove old ones..png?width=688&height=336&name=Untitled%20(3).png)
7) Select 'Save'.
Troubleshooting
If the user who is trying to connect is not an owner of the selected organization, you may encounter this error.-png.png?width=400&height=120&name=Untitled%20(12)-png.png)
How to resolve this issue?
To confirm that you are the Organization Owner, visit the following page: https://github.com/settings/organizations.
FAQs
Which Github pull requests do we collect for auditing?