Log in to the Scytale platform using Okta Single Sign On
After completing the steps in this guide you will be able to use Okta to log in to the Scytale application (both SP-initiated SSO and IdP-initiated SSO are supported).
The process consists of 3 parts:
-
Install the Scytale application from Okta's app catalog
- Provide your Scytale customer success team with the app Metadata URL
- Define which users are allowed to log to Scytale using SSO
ℹ️ Okta SSO is a premium feature, you will need your customer success agent in order to complete the process.
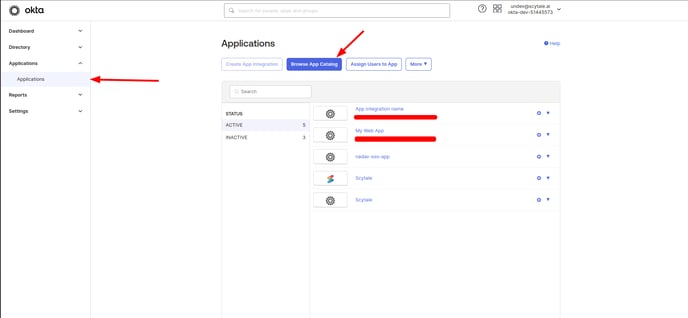
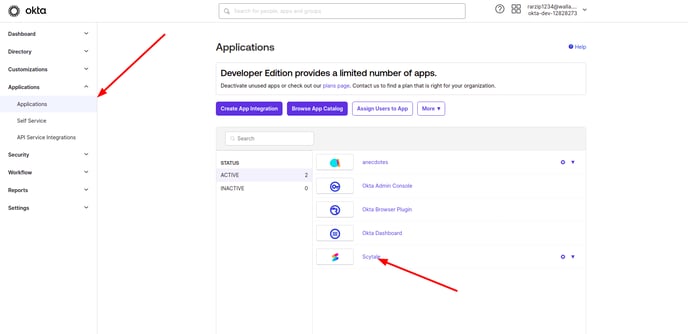
1. Install the Scytale application from Okta's app catalog
-
Using your Okta admin account, go to Applications → Browse App Catalog
-
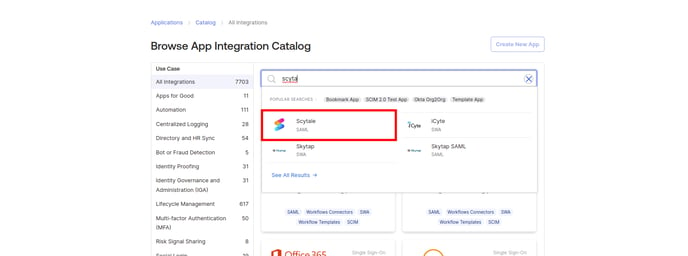
Search for "Scytale" and click on the app you see in the picture below
-
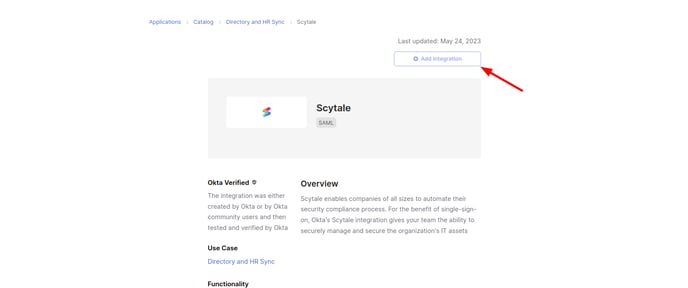
Click on “Add Integration”
-
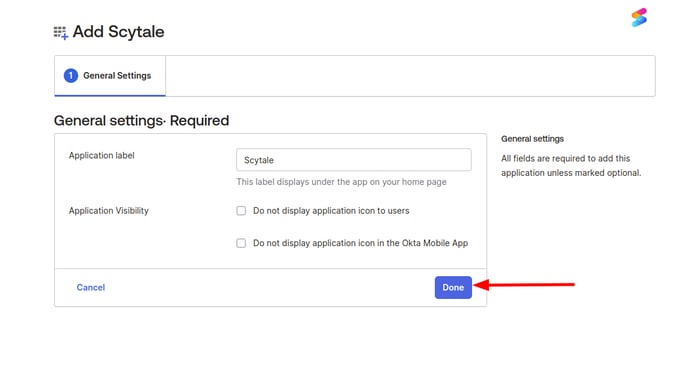
Click “Done“
-
Congrats! You have successfully installed Scytale on your Okta account. Please continue to the next step.
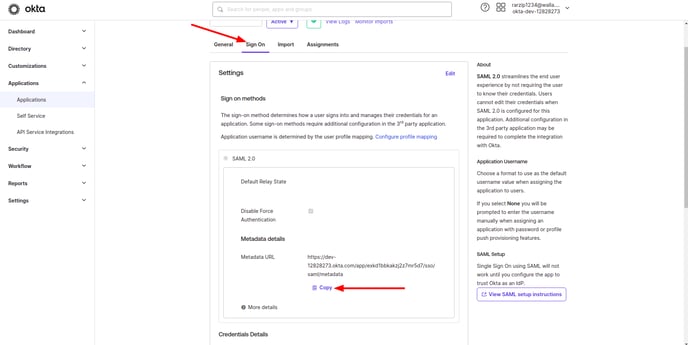
2. Provide your Scytale contact with the app Metadata URL
-
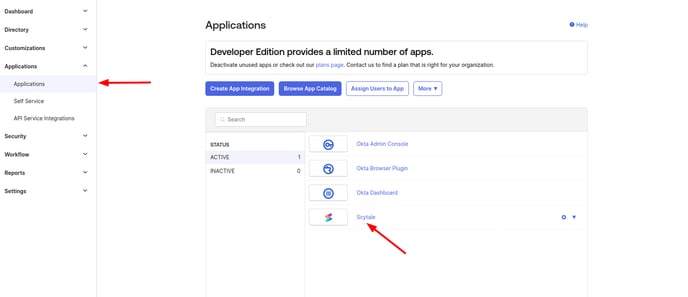
Go to Application on the sidebar and click on Scytale
-
Go to the SignOn tab and copy the metadata URL as shown in the picture
-
Provide this link to Scytale's customer success team. They will do the rest.
You’re done! Wait for a confirmation from the CS team that everything is OK and you’re good to go. While you wait, continue to the next step.
3. Define which users are allowed to log to Scytale using SSO
- Using the side panel, go to “Applications“ and click on the freshly installed Scytale app from the list
- Click “Assign“ and select whether to assign to certain people or groups
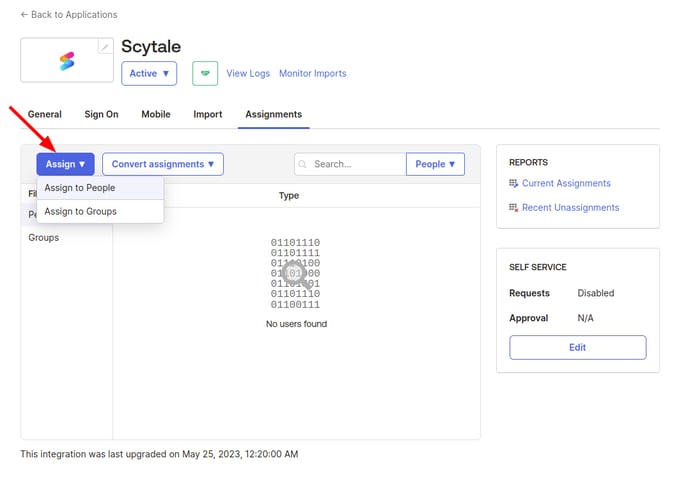
- Select the users to add from the available users list. Only those users will be able to log in to Scytale using SSO.
Finally, contact your Scytale contact (if you don't have any, send an email to support@scytale.ai), they will have to complete these last few steps:
Scytale CS Team instructions:
- In the backoffice → Companies → Edit
- Click the pencil icon next to the relevant company to edit it
-
Under "Select login method", add “okta-saml“ (you can remove other login methods if the customer requests).
-
Get the metadata URL from the customer and paste it into the relevant input box (the input box will show up after completing step #3)
You’re done! The defined users can now log into Scytale using Okta.