In this article, you will understand step by step how to easily integrate with ClickUp
Integrating with ClickUp will streamline the auditing of the change management process, and ensure an accurate and complete list of changes will be received for auditing purposes. It will also reduce the manual work, time, and effort required to populate the necessary evidence for the control - as it will automatically be collected.
This integration will only export and track all the tasks that are relevant to the audit, and only the relevant (specified) folders will be extracted. This extraction process is automated by Scytale.
Permissions for ClickUp Integration
-
Read access to tasks in selected ClickUp folders.
-
Access to retrieve tasks that are not linked to folders.
-
Scytale collects the evidence automatically with read-only permissions from the selected workspace and folders.
How to Connect Scytale and ClickUp
-
In Scytale, go to 'Integrations'.

-
Search for ClickUp and select 'Connect'.

-
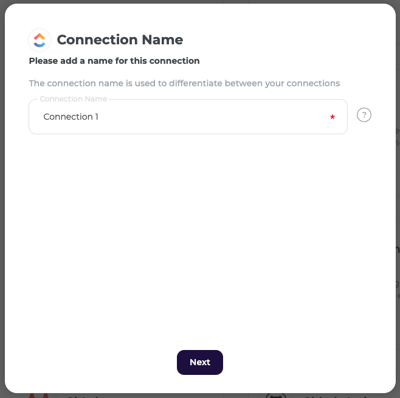
Add a connection name – this will be used to differentiate between your connections – and then select 'Next'.
-
You will be redirected to ClickUp. Click ‘Connect’ to approve the authorization with Scytale.
You will be redirected to the ClickUp page to connect specific workspace (if you have not logged in to ClickUp, it will prompt you to do so before allowing you to choose a workspace).
5. After selecting workspace, click "Connect Workspace".
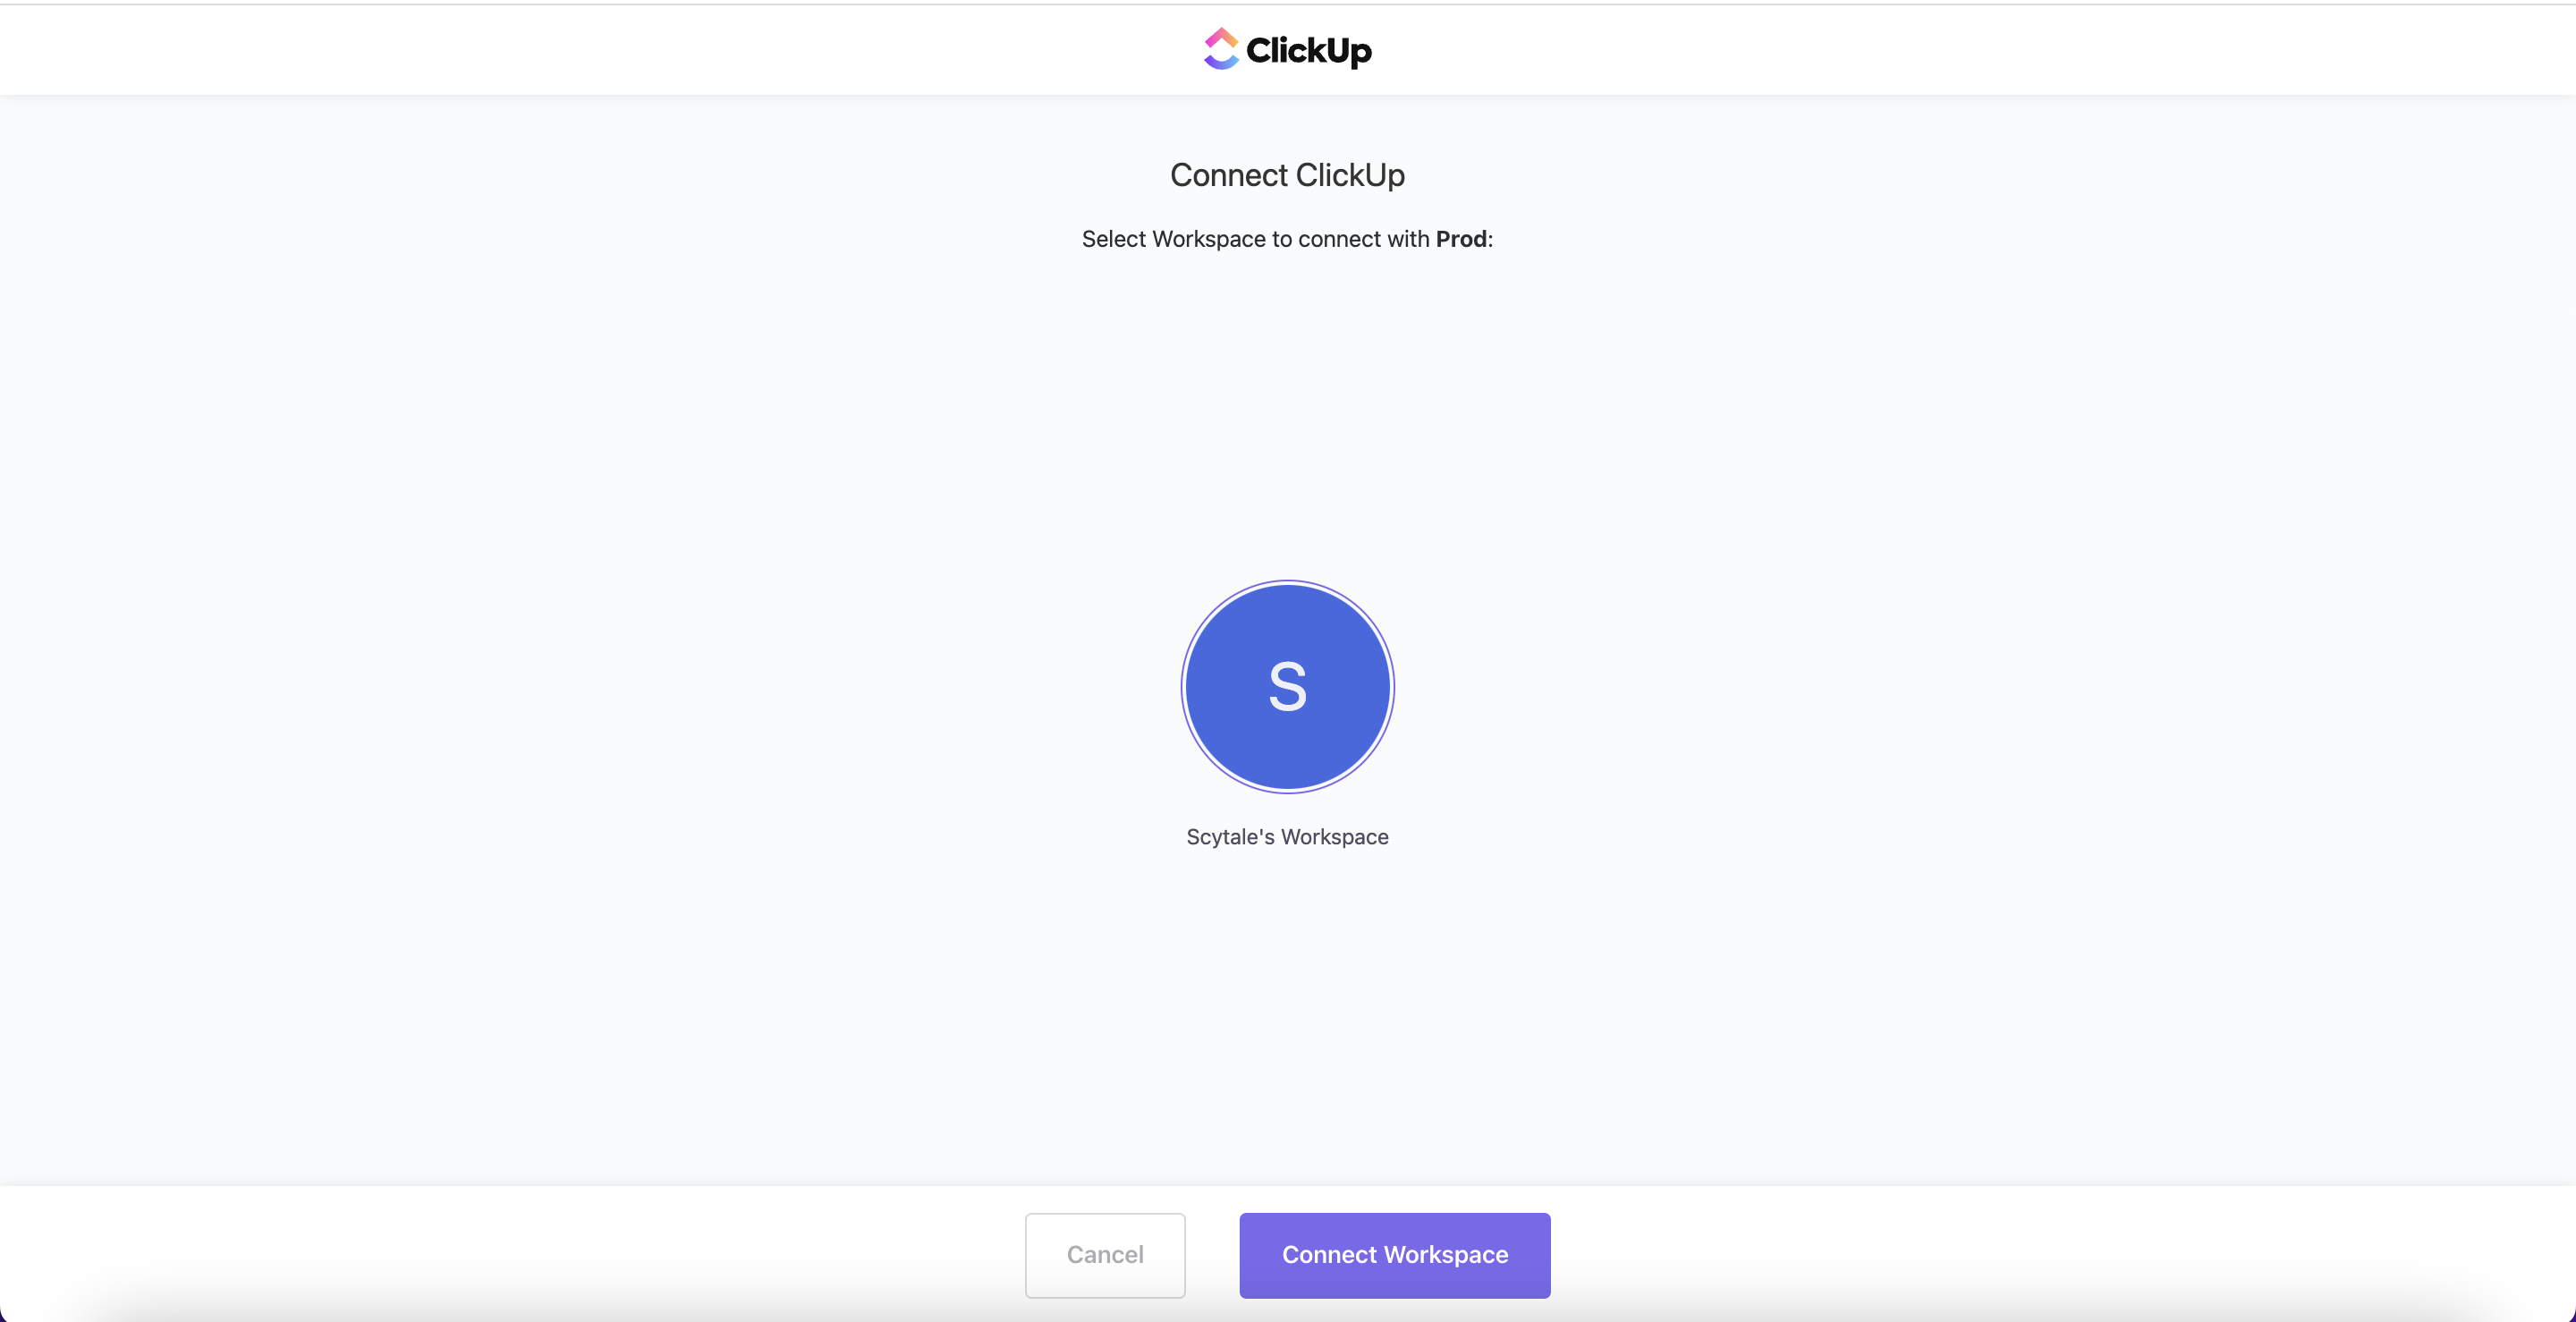
Note: This is a mandatory step for connecting the integration and collecting evidence.
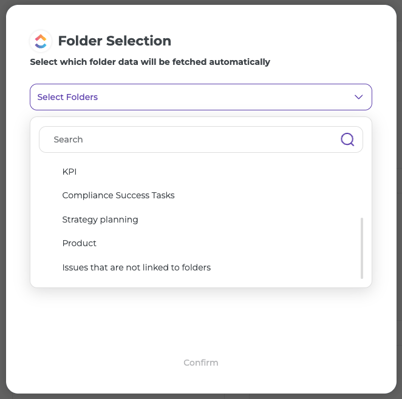
If your team does not use folders, select the option ‘Issues that are not linked to folders’ to fetch tasks without folder association.
You have now successfully connected to ClickUp!