In this article, you will understand step by step how to easily integrate the Scytale platform with Azure DevOps
Prerequisites for Azure DevOps Integration
This integration is based on OAuth authentication method.
The third-party application access by OAuth option must be enabled in your Azure DevOps account.
Permissions for Azure DevOps Integration
Scytale collects evidence automatically for auditing purposes by using the permissions you have granted. The integration requires the following read-only permissions:
Code:Read
How to Connect Scytale and Azure DevOps
1) In Scytale, go to 'Integrations'.


5) You will now be redirected to Azure to approve the authorization with Scytale.
You can read through the permissions and then select "Approve".
6) Back in Scytale select the Azure DevOps projects that are relevant to the audit. The data will be collected automatically by Scytale.
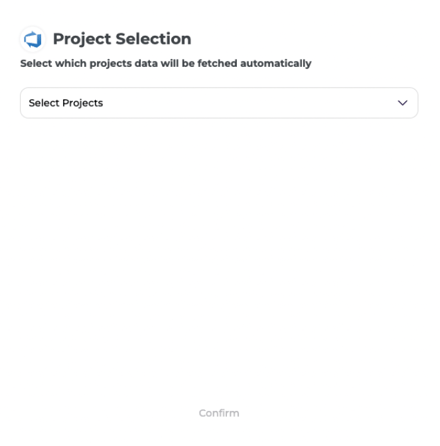
Note: if you don't select projects, the connection will not be completed and we cannot collect evidence.
You have now successfully connected to Azure DevOps!